Quickstart

From new account to your first logged stop

Create your account

1

Your name and your email

The sign-up screen asks for your first name, your last name and your email address. No password. Underneath, you choose whether you want our emails, a straight OK or No thanks with neither one picked for you. Nothing is hidden behind that choice, so "No thanks" gets you in exactly the same. Then tap Get started.
A 6-digit code lands in your inbox straight away, and you do not need it yet. It is there for the moment you decide to log something of your own. If the address already has an account, the screen says so and offers you Sign in instead rather than making a second one.
2

Have a look around

You land in the app, not in another form. Two sample trips are already there to poke at, and a short guided tour offers to show you around: it points a big arrow at one thing at a time, says what it is, and you tap it. Say Not now and it stands aside for this visit, and offers again next time you open the app until you have finished signing up. A band across the top says you're trying it out, nothing saves until you finish signing up, with a Finish signing up button on it. My Trips carries the same offer as a Try it out card at the top of the list: Try logging a stop opens a real entry form that works all the way to Save and then keeps nothing, which is the point. Explore without worrying about making a mess.
3

Verify when you log your first stop

The first time you add, change or delete anything of your own, a short sheet opens and asks for that code. Codes last an hour, and if yours has run out by the time you get there the sheet quietly sends a fresh one instead of making you ask. If none arrived at all, check the spam folder, and Send again is there. Mistyped the address? Wrong address? Fix it corrects it and sends a fresh code. Then comes a password, with the rules under the box and ticked off as you type: eight characters or more, an uppercase letter, a lowercase letter, a number and a symbol. A short phrase with a number and a symbol in it meets all four without much thinking. Tap Set up my logbook and the setup wizard follows (next section). If you were part-way through a practice entry when you tapped Sign up to save, it is kept for you: the next time you open the same kind of entry on your own trip, it is back with a note saying so, ready to check and save.
Closed the app before finishing? Signing in with that address says No password set yet, because you had not set one, and offers Finish setting up to pick up where you left off. Nothing is lost. The verify sheet also has an Already have an account? way out at the bottom, and if you correct the address to one that already has an account it offers to sign you in with that instead.
Changed your mind about the emails? There is no email preferences screen in Settings, so do not go looking for one. Every email we send carries a one-tap unsubscribe at the bottom, and that is the way out. It takes effect for good, and nothing else about your account changes.
This device is remembered for 30 days, so you won't need a code every time. Signing in on a new device? Tick "Trust this device for 30 days" when it asks for a code.

First-time setup

The first time you arrive, the app walks you through a short setup. It takes about a minute.

1

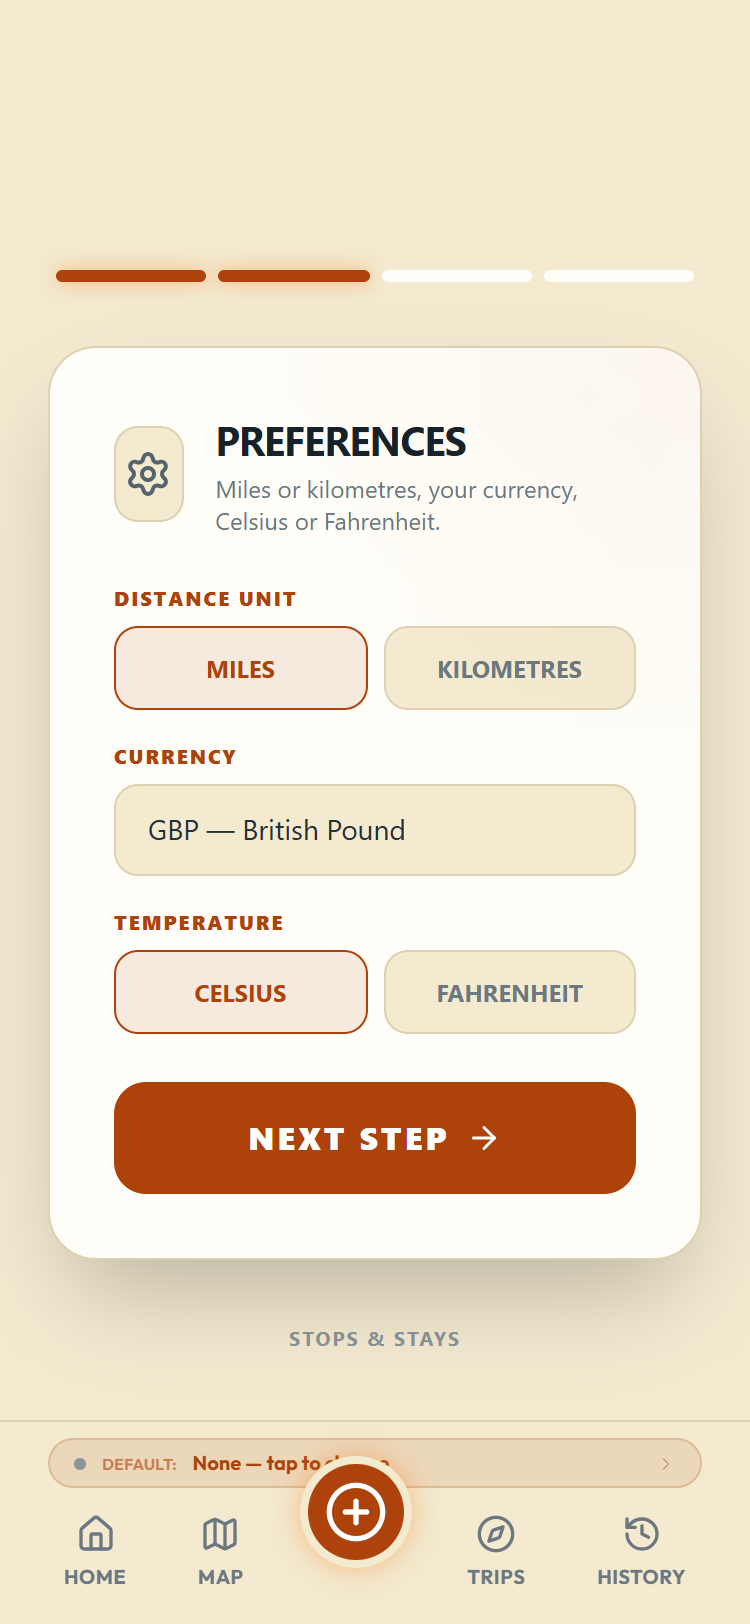
Your preferences

Miles or kilometres, your currency, Celsius or Fahrenheit. The app makes a sensible first guess at the currency from your phone's own region settings, so check it says what you expect rather than assuming. You can change any of these later in Settings.The preferences step with distance unit, currency and temperature choices
2

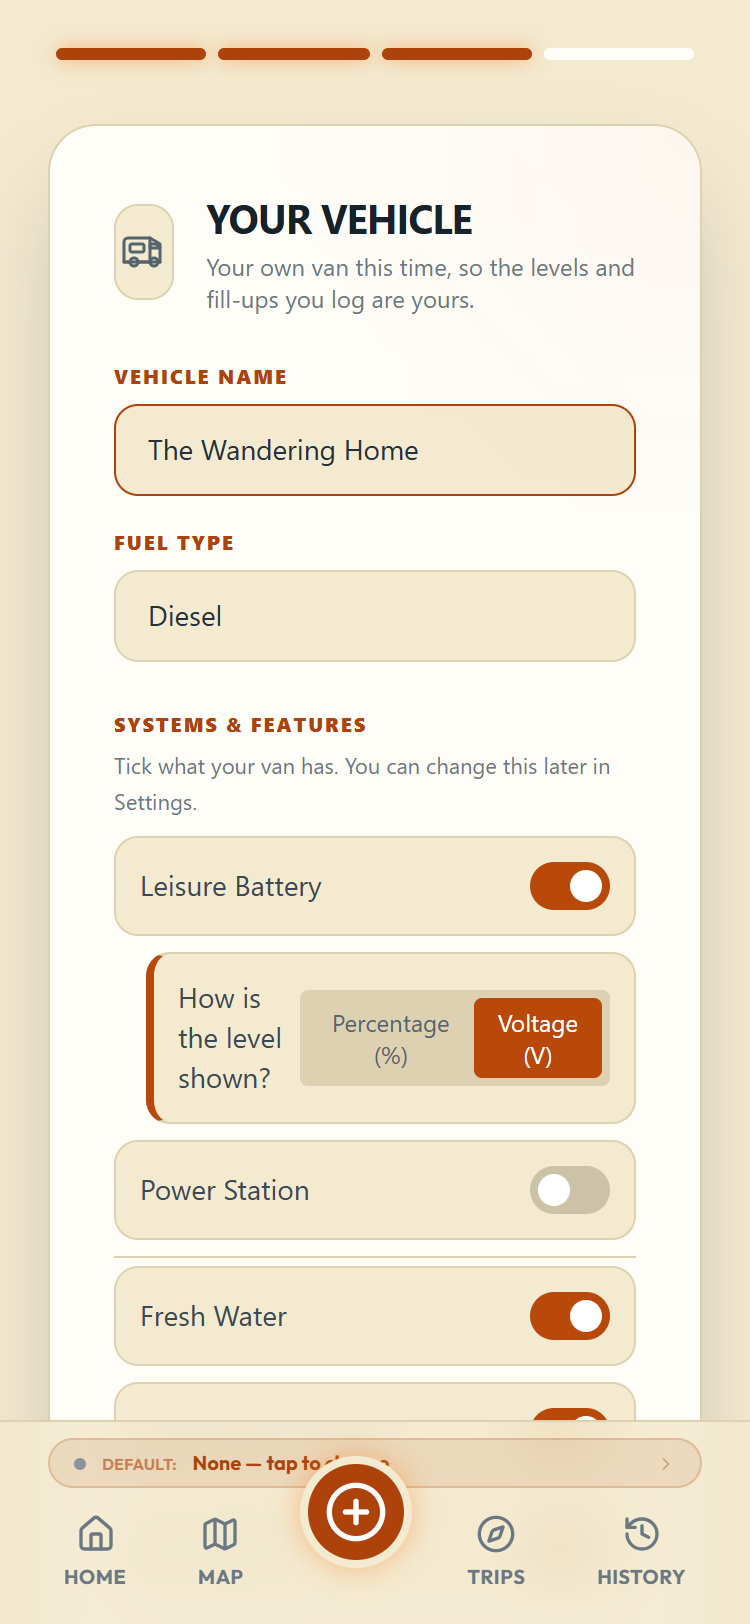
Your vehicle

Give it a name, pick the fuel type, and switch on the systems your vehicle actually has: leisure battery, power station, fresh water, waste water, toilet, LPG. Only the things you switch on will appear when you log stops, so the app fits your setup rather than showing everything to everyone.The vehicle step with name, fuel type and system toggles
3

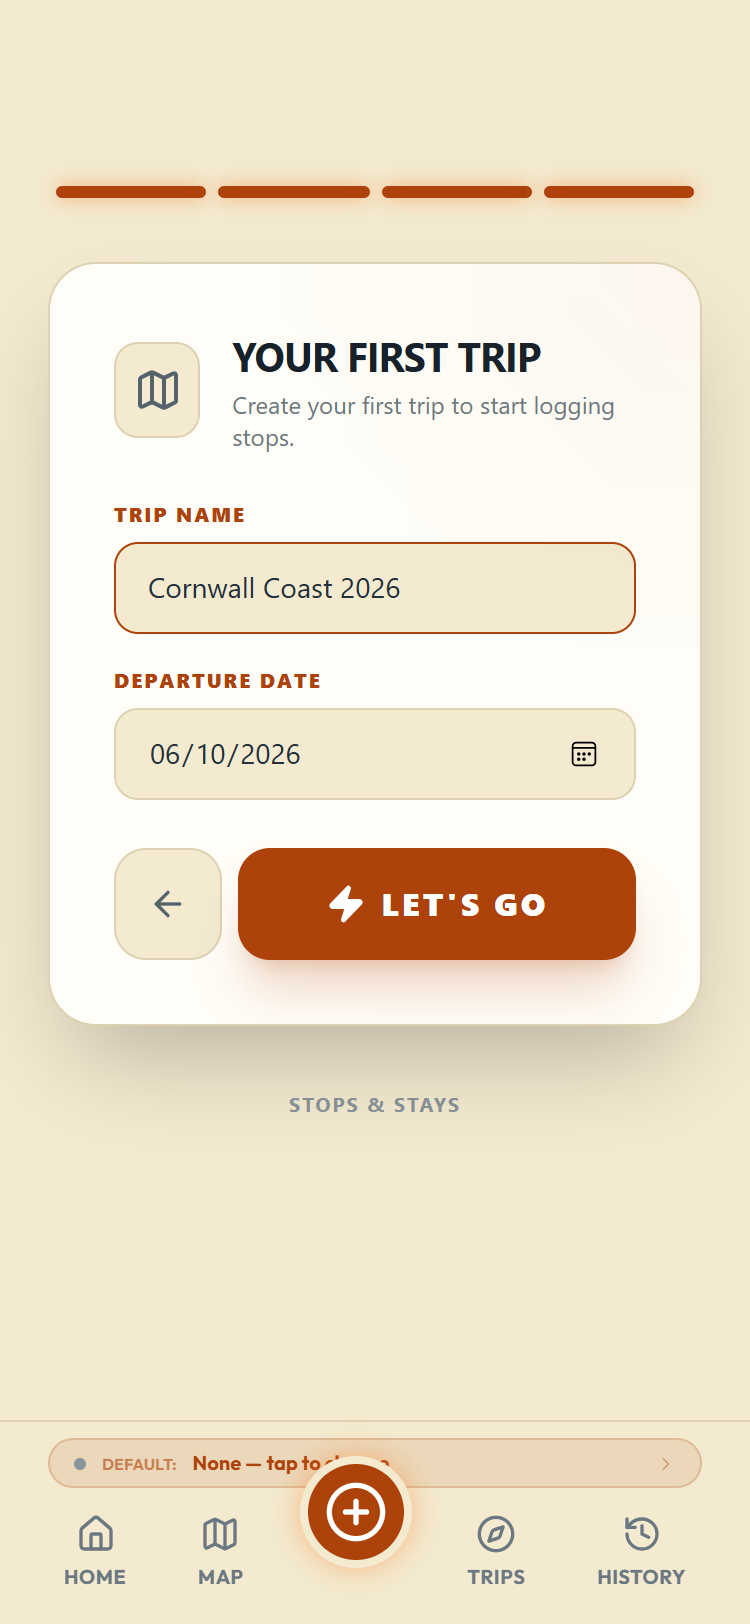
Your first trip

Name it, set the departure date, and tap Let's Go. The new trip becomes your current trip, which is the one new entries are filed against.The first trip step with trip name and departure date
Two sample trips come in with you at the door, so there is something realistic to explore from the moment you arrive. Sample: Scotland NC500 is three weeks from Doncaster, up through Glencoe to Skye, Harris and Lewis, around the NC500 itself, over to Orkney and home by Edinburgh and the Tyne Tunnel. It is dated to have finished the day before you load it, so it has a trip end and a full report to look at. Sample: The Big Europe Loopis a finished three-month trip with a dog on board, kept at its real spring dates. Between them they use all ten kinds of entry. Both start with "Sample:" so you cannot mistake them for your own. They're read-only; poke around them freely. When you're done with them, one button at the top of My Trips removes both.

Two tours, both optional

The guided tour runs on the real screens. It starts on My Trips the first time you arrive, and walks you through the Scotland sample's Map View, History and Summary, then Finish signing up and the three setup screens, then your first real stop from the plus button, with every section of the console explained as you fill it in: where you are, noise, views, signal and slope, the van and the clock, your levels, services and costs, the weather, and notes. On screens you fill in, nothing is dimmed; the arrow and a ring show where to go next. Each step points at the one thing to tap and says why. There is an End tour link on every step. While you are still trying the app out it offers itself on every open; once you have signed up it stops, and you can replay it from Home > Help > Guided tour of the app.

The Quick Guide is a short card of animated demos: logging with the plus button, sliding the icons around the tyre, dragging your levels, and logging with no signal. It does not pop up while the guided tour is running or while you are still signing up. Replay it any time from Home > Help > Quick Guide.
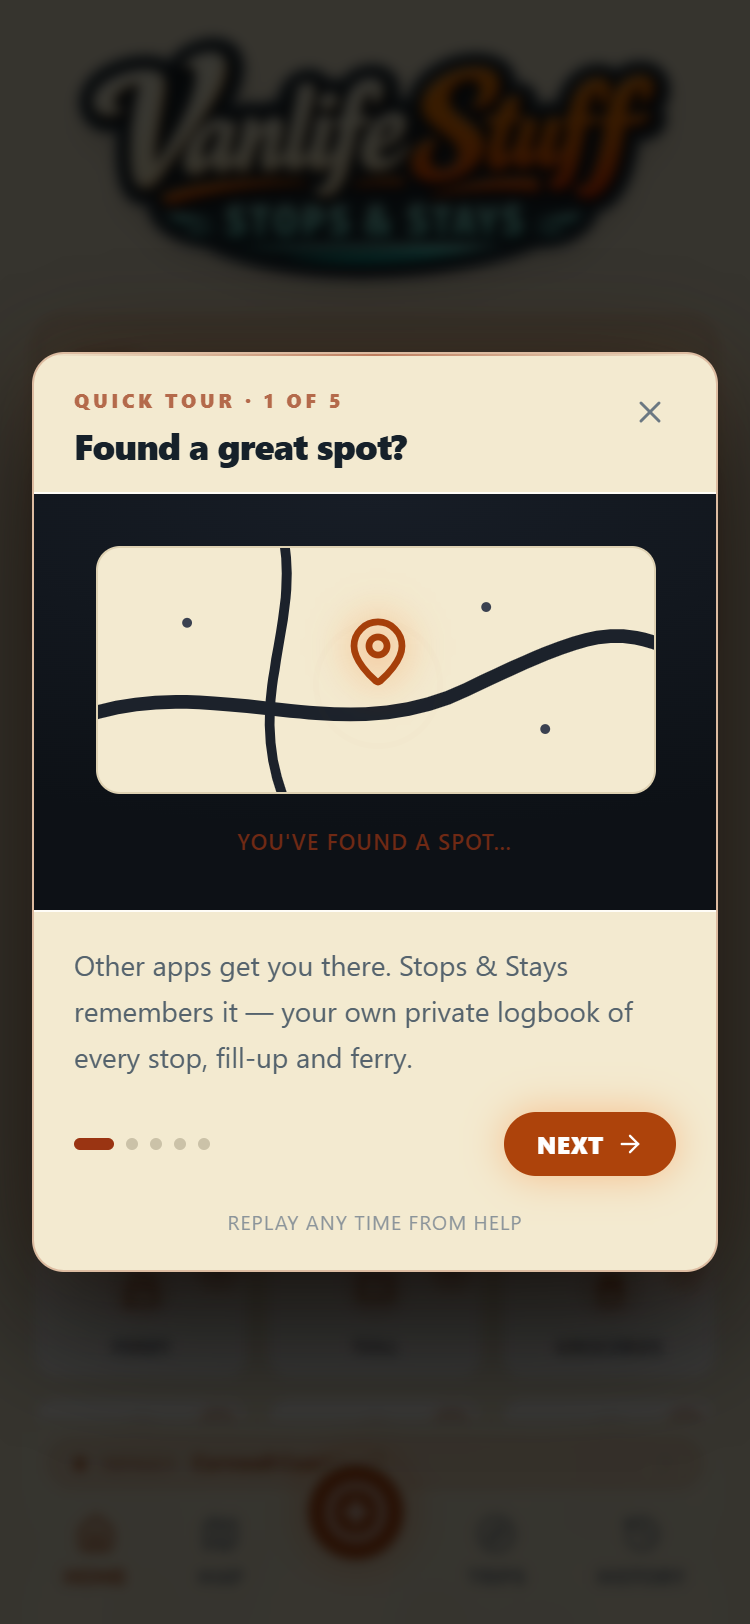
The first step of the Quick Guide

Log your first stop

1

Start an entry

From Home, tap Stopover. Or from anywhere, tap the plus button in the bottom bar and choose Stopover from the list. (Every other kind of entry starts the same way, from Home or from the plus.)
2

Move through the sections

The form is a handful of sections. Slide the icons around the tyre to move between them, or tap the arrows in the corners.
3

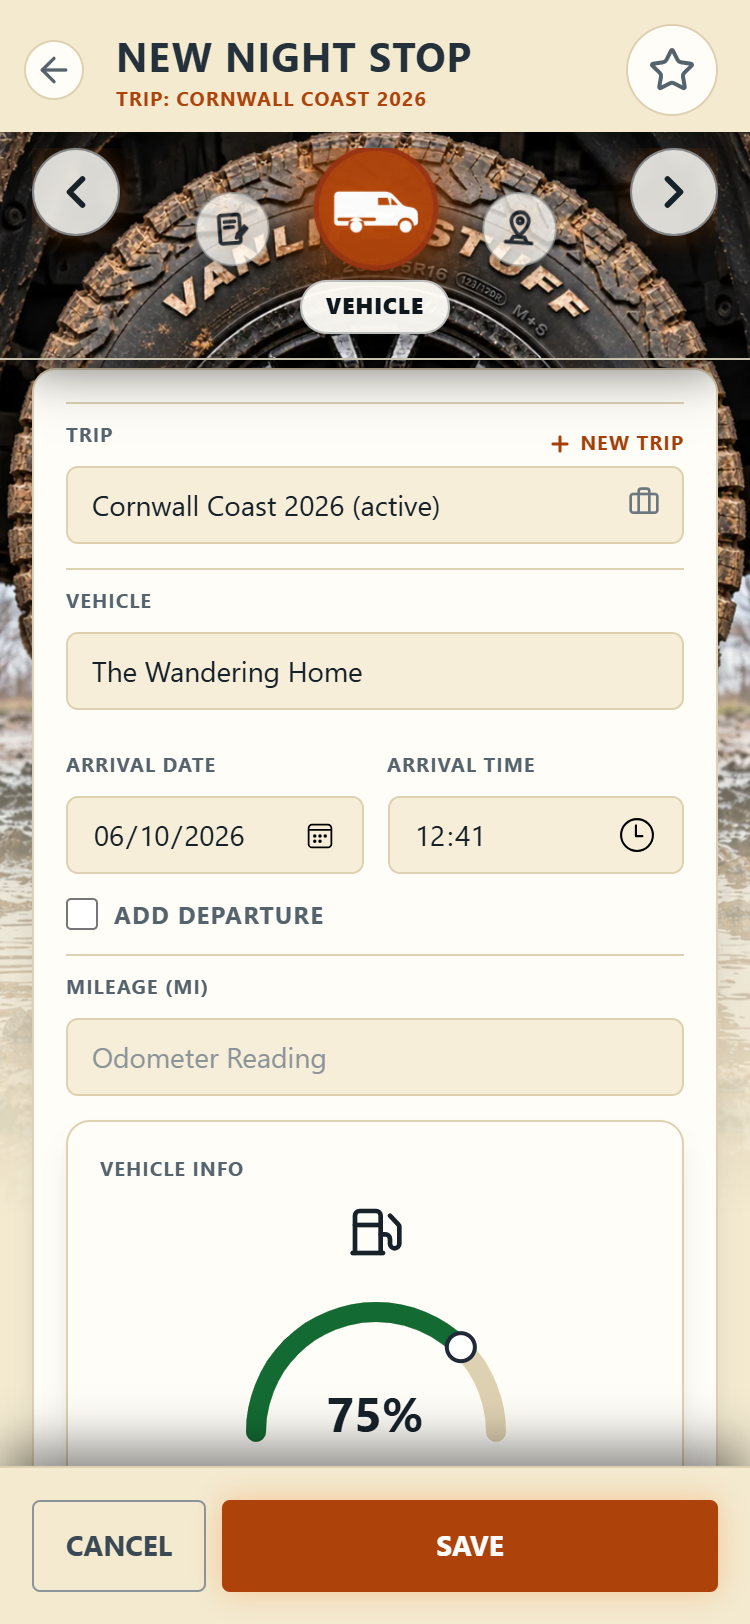
Vehicle

Your trip, vehicle, date and time are already filled in. Add your mileage and set the fuel level if you want the running totals to work later.The Vehicle section of a new stop, with the tyre selector at the top
4

Location

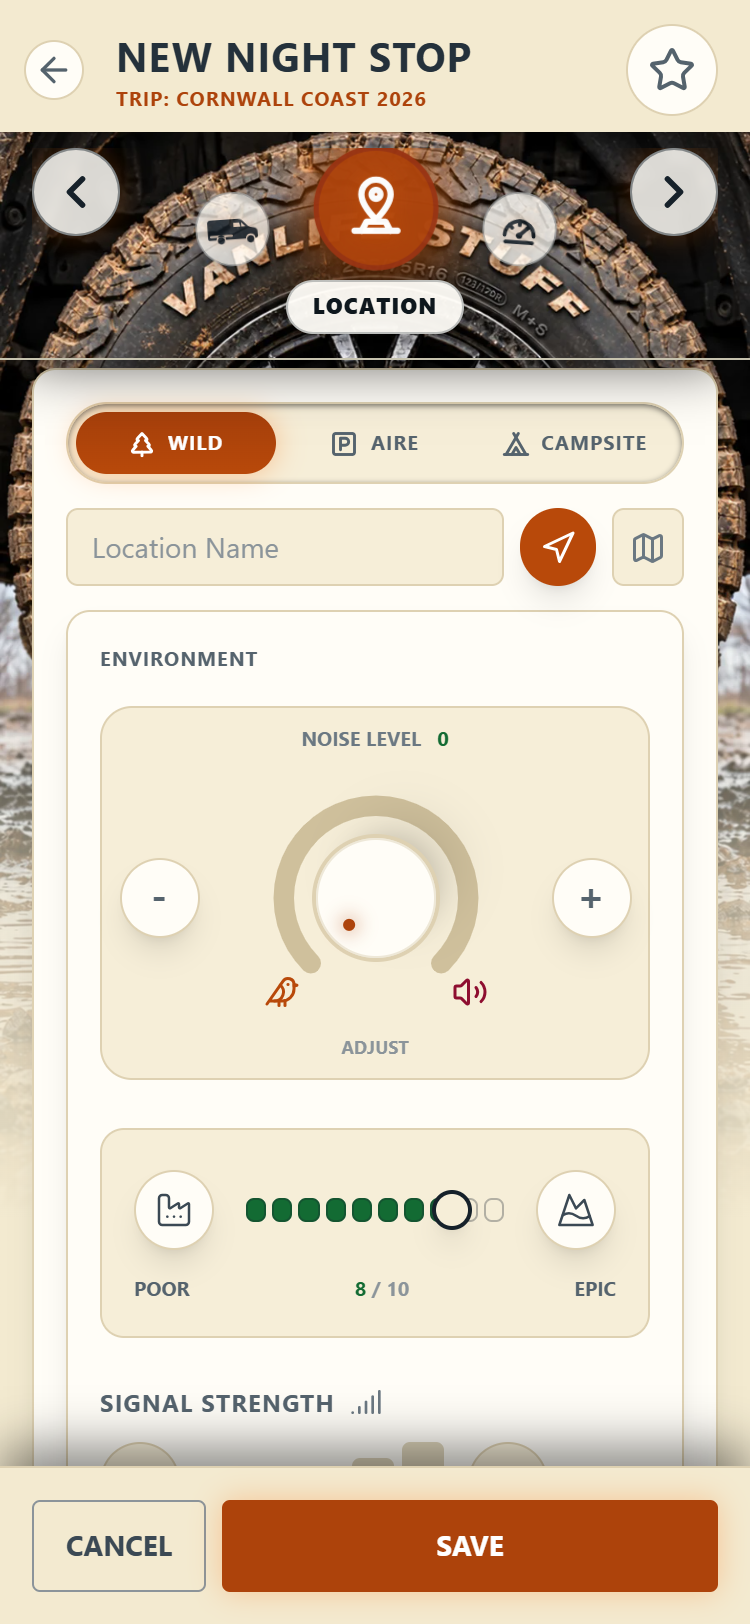
Pick the type of stop (Wild, Aire or Camp Site), then tap Use Current GPS to capture where you are, or choose the spot on the map. You can also rate the noise, views and phone signal, and record how level the pitch is with the slope and tilt sliders.The Location section with stop type, location name and noise control
5

Resources

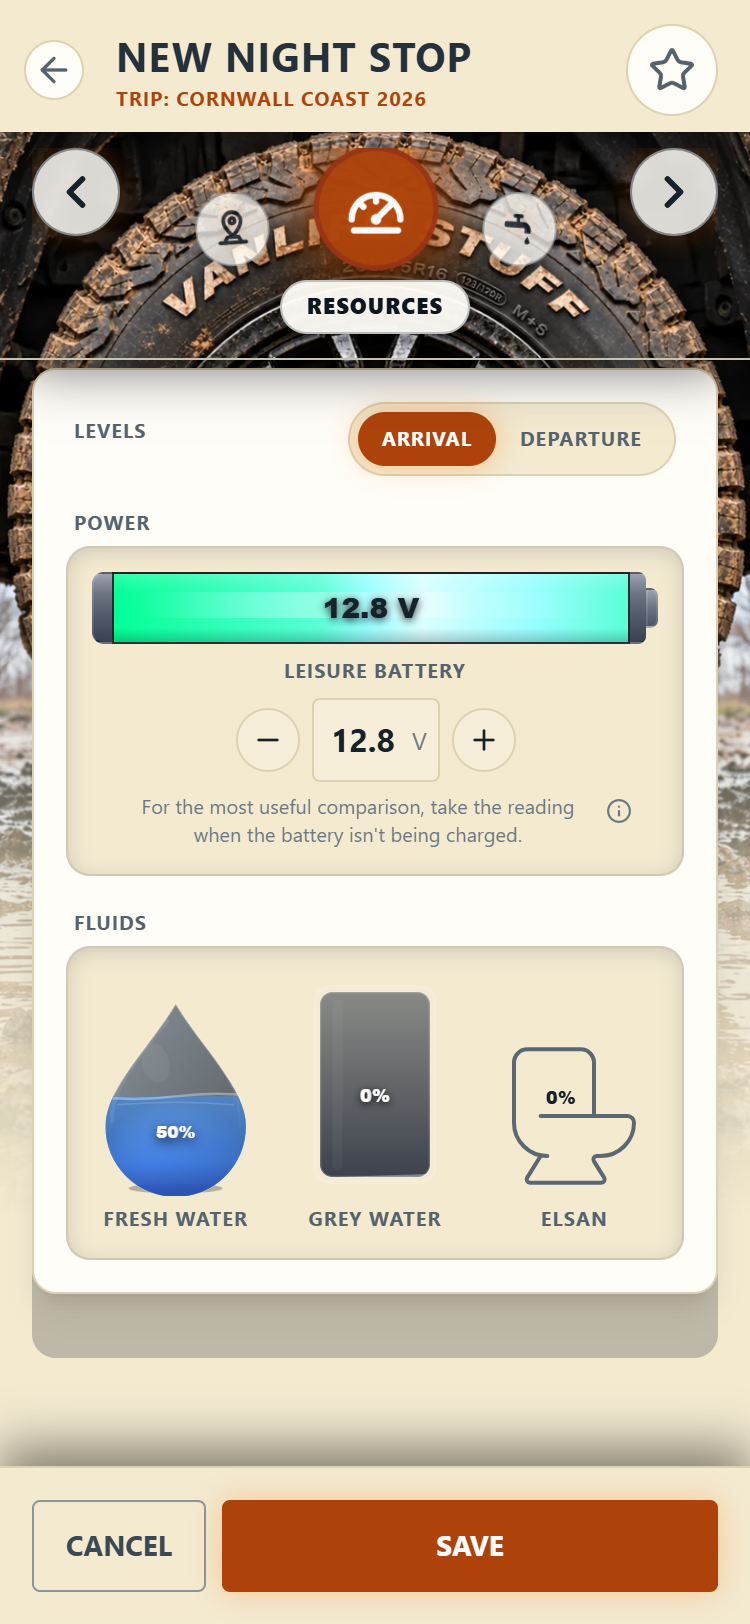
Drag your tanks and batteries to match what they read on arrival. When you leave, come back and set the departure levels; over time this shows you what a night really uses. Levels are pre-filled from your last stop, so usually it's a small adjustment, not a chore.The Resources section with battery and water tank levels
6

Services, weather, notes

Tick any services you used (and what they cost), note the weather, and add anything worth remembering: road conditions, gate codes, the good chippy.
7

Save

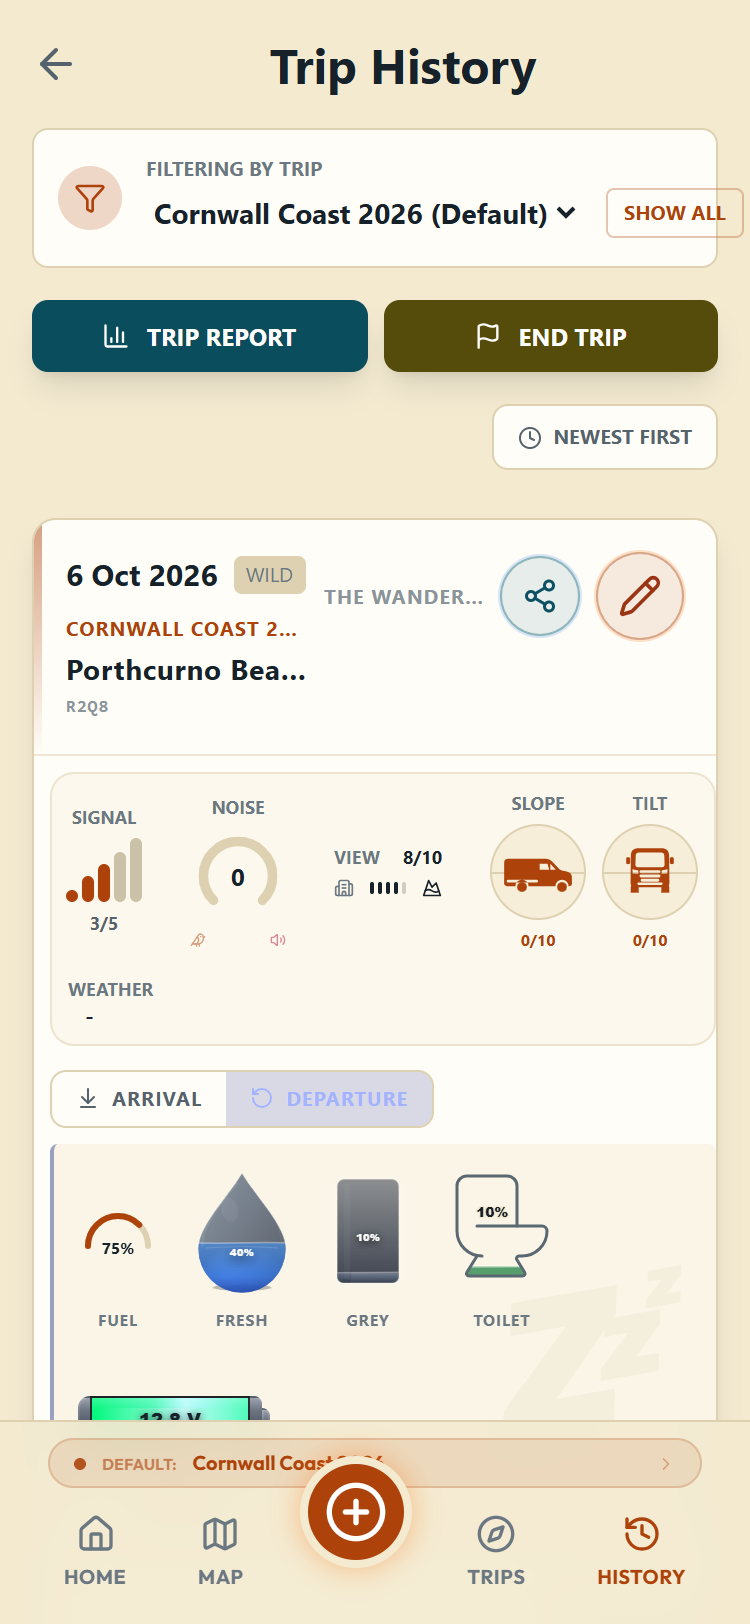
Tap Save. The entry lands in your History, and the map starts filling in.Trip History showing the saved stop with its scores and levels
Beyond trip, vehicle, date and time, everything is optional. A stop can be a ten-second log or a full record; both are fine.
No signal? Log anyway. Everything saves to your phone and syncs when you're back in coverage.

Where things live

Once setup is done, Home is the Quick Actions grid with the menu below it. My Trips holds your trips, their settings and the Current Trip picker; until you have logged something of your own it opens with a card saying You're set up, Tap + to log your first stop, with the two samples under it as a footnote rather than the main event. The Map shows your route filling in, History lists every entry, and Saved Locations keeps the places you want to come back to. Settings and Help are at the bottom of the list.
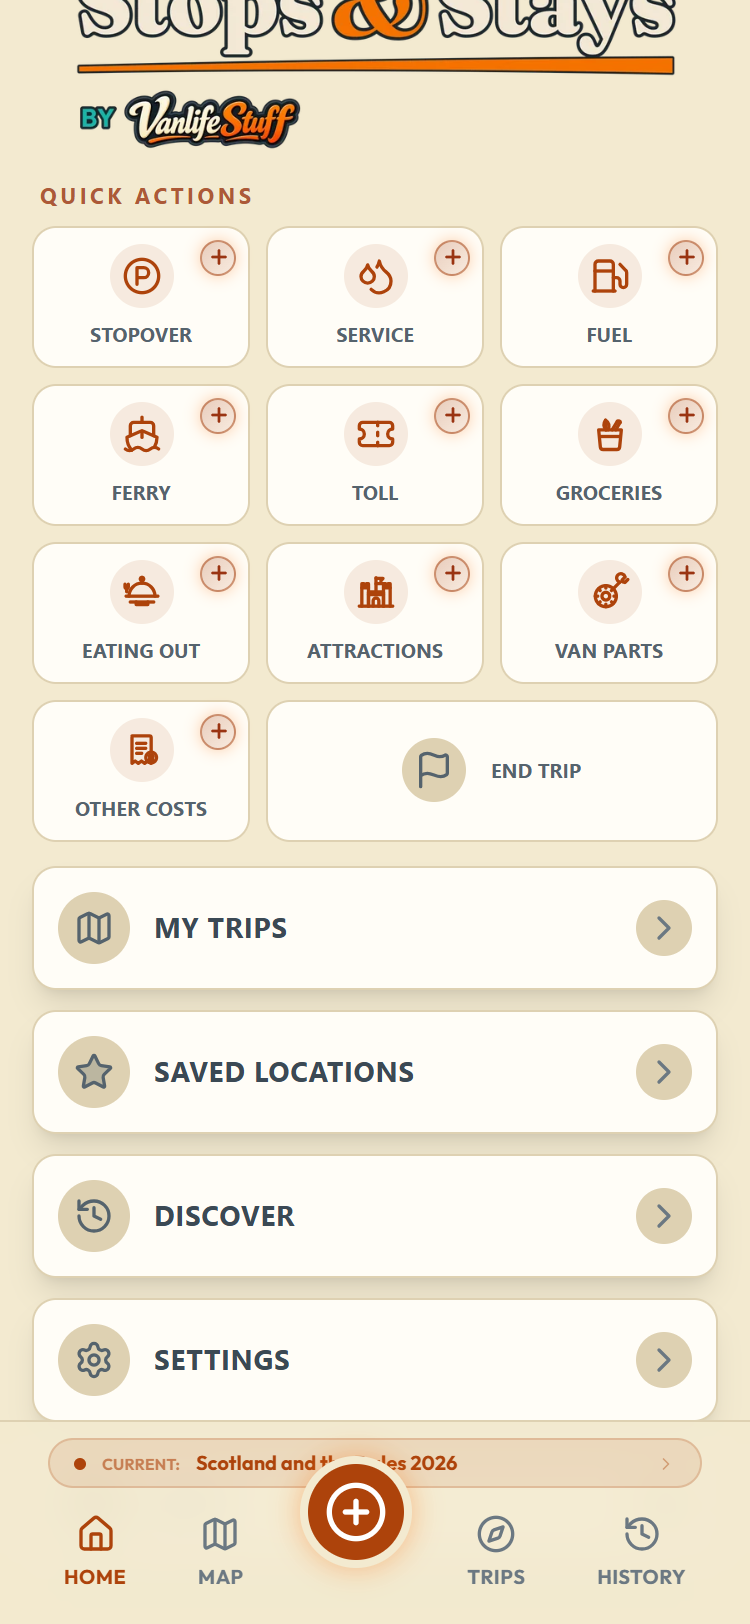
The Home screen Quick Actions grid: ten entry shortcuts in rows of three, with End Trip as a wide tile, and the menu below

Under Quick Actions are ten shortcuts straight into a new entry, one per type: Stopover, Service, Fuel, Ferry and Toll for the journey, then Groceries, Eating Out, Attractions, Van Parts and Other Costs for what you spent along the way. End Trip sits last, as a wide tile. If you have a current trip the shortcut just opens the form; if you have none it asks which trip first, naming the kind of entry as it asks, so nothing is ever filed against a trip you did not pick. That question can also start a trip for you: there is a Start a new trip button on it, and it brings you back to the entry you were making with the new trip already chosen.

The free plan, briefly

A free account keeps unlimited stops and trips on one vehicle. Pro adds trip summaries, reports by month or any dates, and more than one vehicle. The sample trips' summaries are open to everyone, so you can see one first.